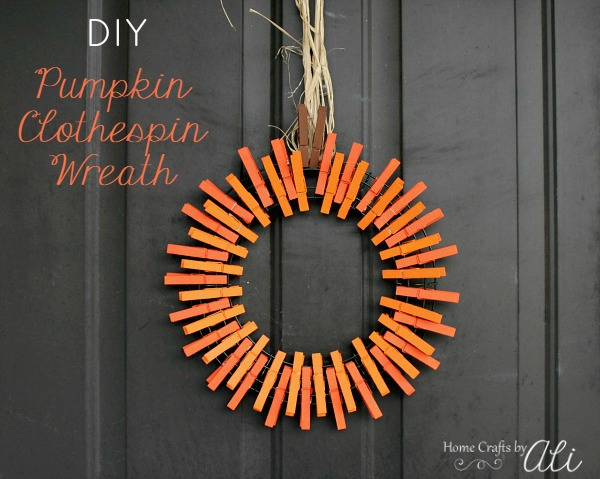
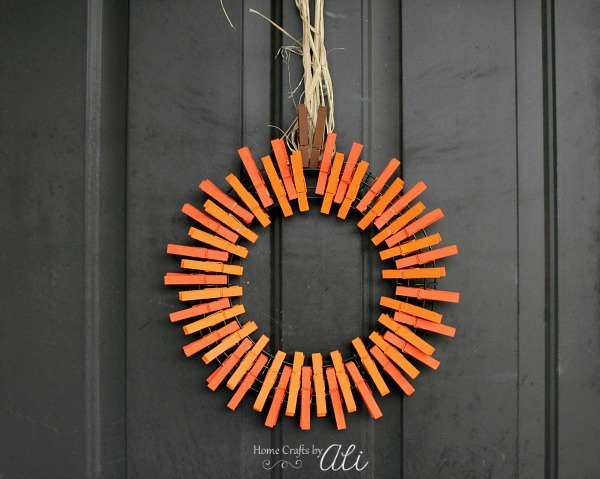
This year, I have fallen in love with fall. I've driven up the canyons to see the leaves changing colors, grew pumpkins in my garden (they have taken over!), and added some new pieces to my fall decor. Even though I love my fall owl wreath a lot, I wanted to make a pumpkin wreath this year.
While cleaning out my craft room the other day, I ran across some clothespins I had leftover from when I made my Patriotic Wreath. I thought how fun it would be to make a pumpkin with the clothespins, and so the idea for this wreath was born!
The supplies for this wreath are quite budget-friendly. The clothespins and raffia are both from the dollar store, I bought my paint at Wal-Mart, and I happened to pick up the wire wreath frames at a considerable discount when our local Jo-Ann's was closing. Buying the items at local stores would probably cost $7.50. You can also order the items online for your shopping convenience.
Supplies
Some links are affiliate links, which means I receive a small portion of a sale in exchange for advertising the products I love to use. The links have an * after them.
Paint - 2 orange and 1 brown (Pumpkin Orange, Harvest Orange, Chocolate Brown)
Zip top quart size bags
paintbrush
cheap plastic tablecloth (for drying your pins on)
cheap plastic tablecloth (for drying your pins on)
Note - I placed clothespins on both the 12" and 18" frames to give you an accurate number of clothespins to use. For a 12" wreath frame it takes 50 clothespins (24 each color of orange + 2 brown). For the 18" wreath, you will need 74 clothespins (36 each color of orange + 2 brown).
How to Make Pumpkin Clothespin Wreath
1. Open your zip top plastic bag and put a small amount of one of the orange paint at the bottom. Add 24 of your clothespins. Squirt some more of the paint on top of the pins. Close the bag, then shake the bag. Move around the pins so they get covered with paint. Check to see if you have to add more paint.
2. Repeat with other color of orange paint.
3. Spread out plastic tablecloth (the .99 ones you can buy for parties) and place your clothespins on it to dry. Lay them on their sides to dry. I generally use my Mod Podge Craft Mat* when painting, but I needed a larger area. I do not advise using newspaper. All sides of your clothespins are wet and whatever side you put down on paper will be ruined. Using a plastic tablecloth will make it so you don't have anything sticking to your clothespins except the paint.
4. After the pins dry, use a paintbrush to touch up the areas that didn't get covered with paint while the clothespins were in the bag. To touch up both batches of orange clothespins, it took about 15 minutes. At this time, paint your brown clothespins with a paintbrush.
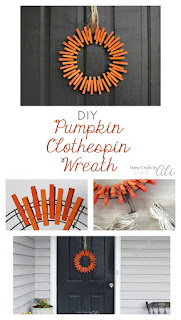
5. When the clothespins are dry, it's time to add them to the wire wreath base. I decided to take pictures of each step so you know exactly where to place the clothespins. You will alternate the orange clothespins as you put them on the wreath base. The first color orange (harvest orange for me) goes on the two middle wires as shown in the top left picture. The second orange color (pumpkin orange for me) fits onto the wire wreath base on the innermost wire and the one next to it as shown in the top right picture. Continue to alternate - 8 pins will fit perfectly per section on the wire frame.
6. Take about 5 or 6 strands of raffia and straighten them out and try to even them. Raffia is generally not all the same length, so look through your bunch to find ones that are closest to the same length. My raffia strands were about 35 inches long.
7. Figure out which section you want to be at the top of your wreath, then put the raffia halfway through the outermost wire at that point. It will need to be lined up with one of your clothespins that you placed on the "lower" wires instead of the 2 middle ones. Tie the ends of the raffia together about 2" from the ends. The knot will be where you hang your wreath, so make sure it is as far from the wreath frame as possible.
8. Place the 2 brown clothespins (the stem) on the wire frame at the same place as the raffia. The raffia can be moved a bit to the side or you can put the pins over the raffia.
That's it! Hang your wreath and let a few raffia tendrils hang down from the top for a natural look.
Now you have a happy harvest pumpkin for your door during the fall.
Other DIY Wreath Posts You May Like


Cute! Love the idea of putting the pins in the bag and shaking the paint around!
ReplyDeleteThat ziploc bag idea is genius! Such a cute and simple diy wreath! Love it!
ReplyDeleteSo pretty - I love how easy this is to make!
ReplyDeleteWhat a cute fall wreath! Love the baggie idea. I have painstaking painted each individual clothespins for projects in the past...will be trying this method next time!
ReplyDeleteBrilliant idea to use the bag!! Very cute wreath!
ReplyDelete