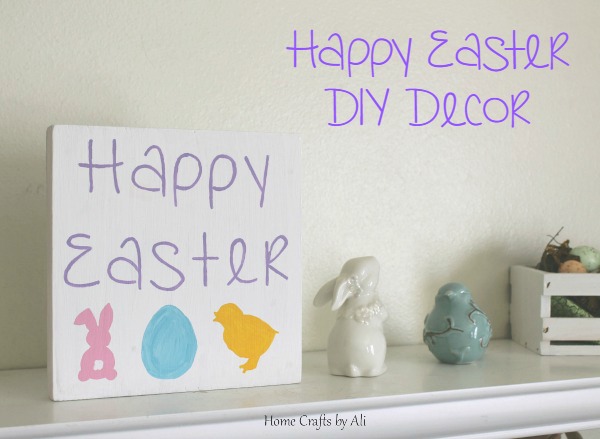
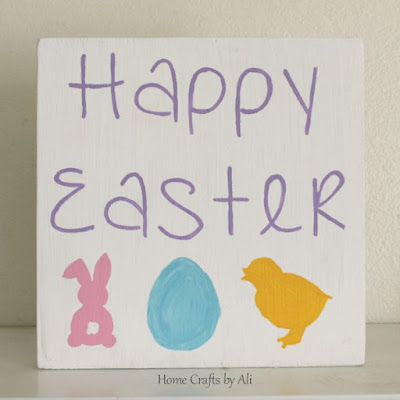
I decided that my Easter decorations needed a little more color and cuteness, so I painted this Easter block. I love the addition of the little bunny, egg, and chick.
If you follow this tutorial, you can make your own happy Easter decor for your home.
*** This post contains affiliate links. A small portion of any sale will come to me for advertising the products, so I can then keep this site running. ***
Supplies Used
Wood Block 7.25" x 7.25"
Plaid Apple Barrel Acrylic Paint, White
Plaid Apple Barrel Acrylic Paint - Parrot Blue
Plaid Apple Barrel Acrylic Paint - Lilac Mist
DecoArt Americana Acrylic Paint - Baby Pink
Foam Sponge Paint Brush
Fine Tip Paint Brush
Plaid Mod Podge Craft Mat
Cardstock
Cricut machine ** - read below the tutorial for a way to create this if you don't have a cutting machine
My wood block was a thrift store find. The other side of the block is actually my Luck O' the Irish block I made for St. Patrick's Day. That's the great part about wood blocks, you can use both sides to decorate for different holidays or seasons.
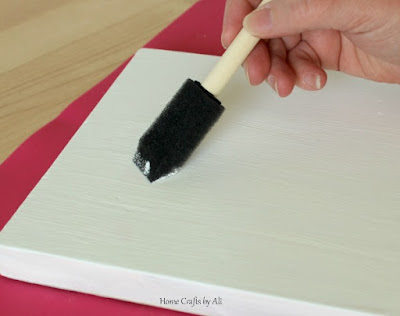
I started out by spreading out my craft mat to protect my table while I was painting the block. I used the foam brush to paint two layers of white paint onto my block. I wanted to make sure there was a crisp white background on my block.
While the paint was drying, I searched dafont.com for the font I wanted to use for this Easter project. Dafont has a large selection of free fonts. I downloaded a few different fonts, but ended up liking one called KG Faith Hope and Love by Kimberly Geswein the best.
I used Cricut Design Space to design the stencil that I wanted to use. I added my text, then three image files I had on my computer to make the stencil.
After I designed my stencil, I used my Cricut Explore machine to cut a piece of cardstock I would use as my stencil for this project. To design the stencil and cut it out, it took about 8 minutes.
I made sure the paint was dry on my block, then I taped the stencil to the block. I used the fine tip brush to paint the letters. I used a thicker paint brush to paint the bunny, egg, and chick. I painted two layers of paint for the letters and the images. To get the desired color of the egg, I mixed my Parrot Blue paint with a bit of the white paint.
I removed the stencil and let the paint dry. There were a few places that needed minor touch up. so I used the finest tip brush that I had to carefully paint the outline of the letters and shapes. I added a fluffy little tail to the bunny when the pink paint was dry.
When I first planned this project in my head, I was going to add colored dots to the egg, but after letting the paint dry, I ended up liking it just how it was.
I think that it is a nice addition to the Easter decorations that I already have displayed.
In case you don't have a Cricut machine, you can still make this project. I have provided a file that you can download to your computer and print out. After that you could do the project 2 ways. You could use an exacto knife to cut the letters and shapes out and then paint as I did. Or you could place the printed page over your block, use a pencil pushing down into the wood and trace the letters and shapes onto the block. Then you would need to paint inside the indentations of the wood.
I created this project to go along with other craft bloggers that are celebrating National Craft Month. 100Directions.com organized a creative series that we bloggers are joining for the month. You can see the other craft projects by clicking the picture below. This week was a painted craft and the last week of the month I will be sharing a paper craft.
Thanks for visiting my tutorial today. I hope this has given you an idea of something that you can create in your own home to decorate for Easter.


This is super cute! I'm looking forward to decorating for Easter. We have a few St. Patrick's Day decorations up, so we have not pulled out the Easter stuff.
ReplyDeleteI'm glad you like it! I had a fun time making it and adding it to my mantle for the holiday.
DeleteSuper cute idea! I love that you used wood and that you painted with stencils made with your Cricut. Such a great way to make a project without having to free hand all the pieces. Love!
ReplyDeleteI was lucky to have my Cricut! I'm not that great at free handing. Thanks for stopping by Jen!
Delete