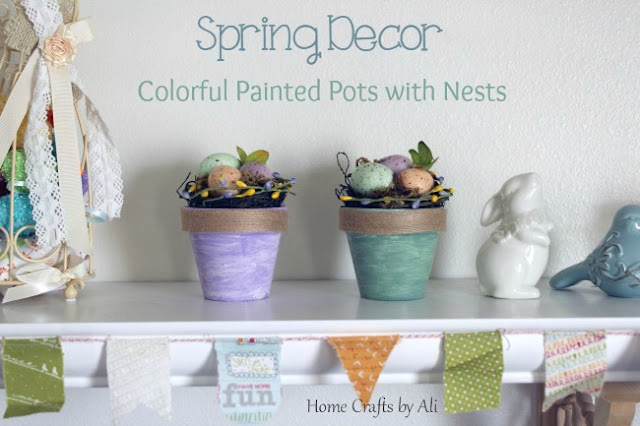
I'm so glad it's springtime! The flowers are blooming, the sun starts to shine, and you can hear birds tweeting in the trees. Add a little springtime in your home with this simple DIY decor project. Painted pots with a few other items make a cute piece to add to your spring mantle or display.
Last week I shared my tutorial for painted terra cotta pots. At the time I wasn't sure what I was going to do with them, but I knew that I wanted to use them in my Spring display. While shopping at Hobby Lobby I saw a package of cute bird nests with eggs and knew that they would work perfectly with my pots.
This was so easy to put together. You can make these in about 5 minutes. The perfect project to add a little color to your home quickly!
Supplies Used
decorative bird nests (Hobby Lobby)
burlap craft ribbon (JoAnn's)
Glue Dots
seasonal floral picks (JoAnn's)
Directions
The bird nests were actually picks, so they had a long wire-wrapped stem on the back. I wanted my nest to sit straight inside my pot, so I had to remove the stem on the back. I carefully worked the wire back and forth until I was able to remove it.
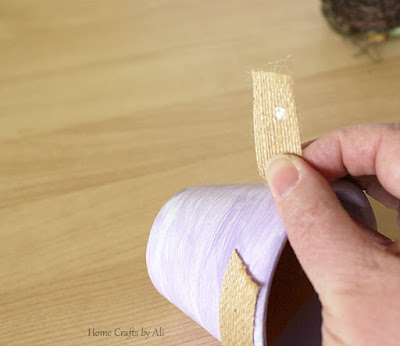
To add the ribbon to the pot, I used Glue Dots mini dots. I used 4 dots along the ribbon to attach to the pots. One at each end and a few along the ribbon so it doesn't slip down the pot. I decided to add my burlap to the top edge of the pot.
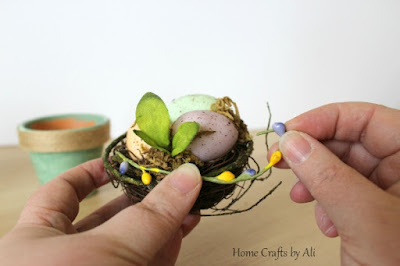
My floral pick had about 10 "branches" on it. I removed two of the branches of flower buds. I took the bud off the top of the branch so there was a small amount of wrapped wire I could use to attach the flower bud branch to the nest. I tucked in the long stem and wrapped the flower bud part around the nest. Then I took the other branch of flower buds and tucked them in going the other direction and wrapped them around the nest.
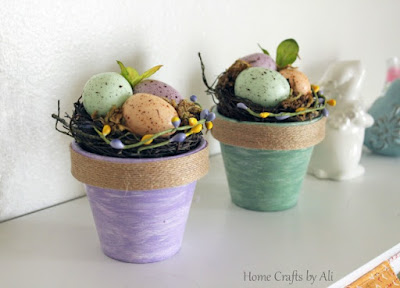
I placed the nests inside the pot and that was it! I made the decision to not glue the nests into the pots in case I want to use the pots in a different way next year. If you want yours to be a permanent piece, use hot glue around the inside of the pot and add your nest to it.
Place your colorful painted pots with the cute nests with your other springtime decorations.
This colorful spring project went perfectly with the Creative Crafts Bloggers Group April challenge - Spring Colors. You can see the other fun projects by visiting the links below.
Try it - Like it ~ Spring Floral Coaster Crochet Tutorial
Life Beyond the Kitchen ~ Painted Garden Rocks
5 Little Monsters ~ Spring Colors Scarf
Home Crafts by Ali ~ Colorful Painted Pots with Nests
Thanks for visiting my tutorial today! I hope you liked this project and it inspires you to get creative in your home.


I am charmed by your entire mantlepiece. The pots go great with your other decor choices.
ReplyDeleteThank you Lydia! A few of the pieces are being reused from my Easter display. I really do love the spring colors!
Delete